Tag: Printer
-
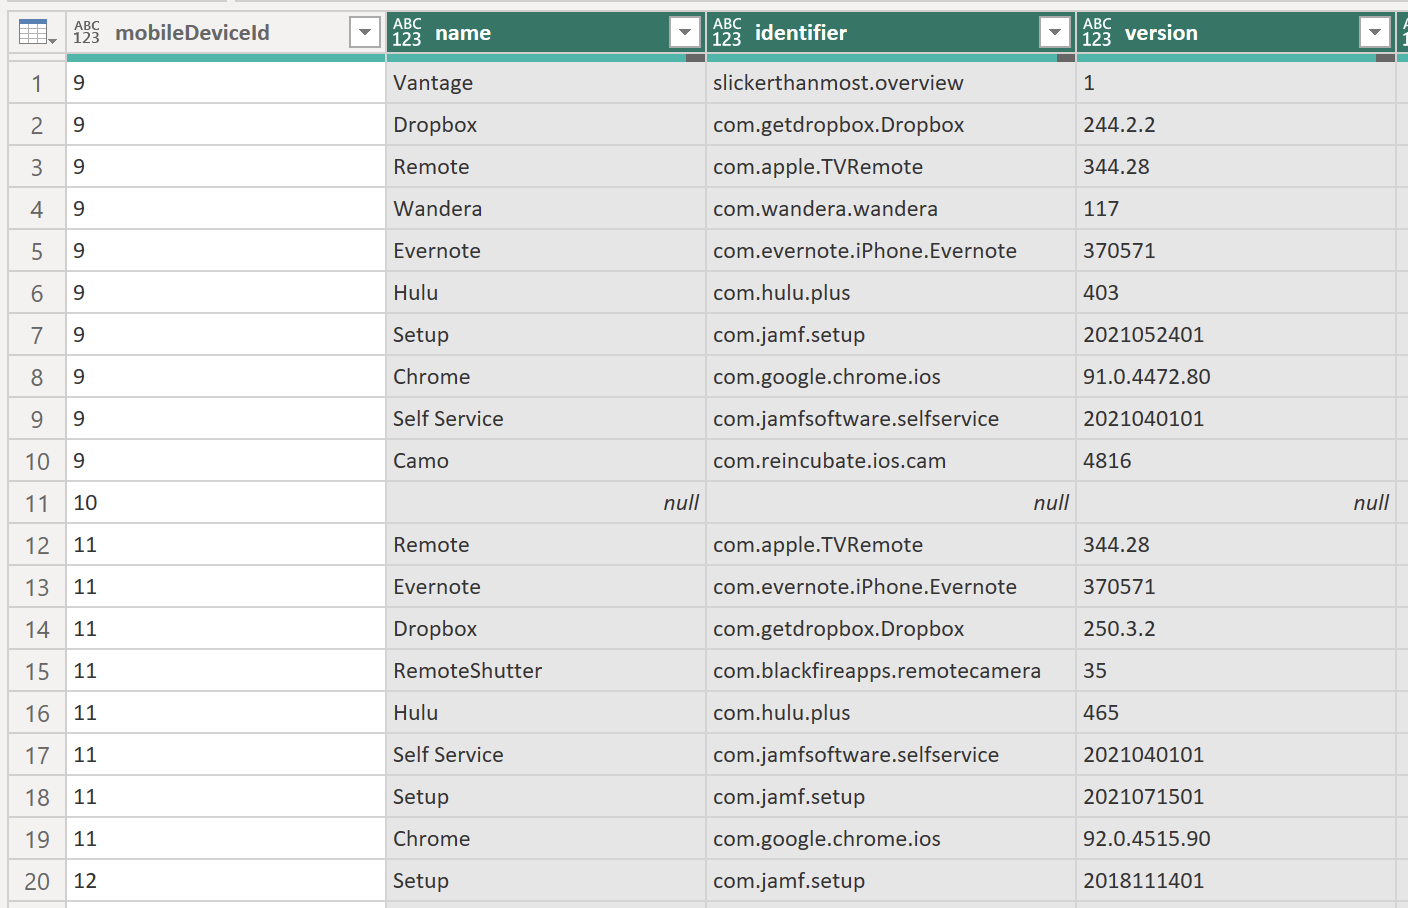
Unlocking Insights: An Introductory Guide to Integrating Jamf Pro and Microsoft Power BI for Powerful Reporting – Part 6
Part 6 – More Visualizations By the end of our last post, we had Power BI set up to ingest data from a JSON file stored in a SharePoint site. I showed you how to create a straightforward visualization that simply represented our data in a table. In this post, I will show you one…
-
Unlocking Insights: An Introductory Guide to Integrating Jamf Pro and Microsoft Power BI for Powerful Reporting – Part 5
Part 5 – SharePoint to Power BI In Part 4 of this series, I showed you an alternative way to get data from Jamf Pro into a JSON file stored on SharePoint. We used this method as a workaround for the roadblock regarding scheduled updates on the Power BI site when using manual queries. We…
-
Unlocking Insights: An Introductory Guide to Integrating Jamf Pro and Microsoft Power BI for Powerful Reporting – Part 4
Part 4: Alternative Update Method If you’ve been following along in this series, you know that I hit a pretty major roadblock in February 2024 that derailed it. In my last post, I pointed out the roadblock: being unable to do automatic refreshes of the Power BI data. Back in March, a fellow Mac admin, Alexander…
-
Unlocking Insights: An Introductory Guide to Integrating Jamf Pro and Microsoft Power BI for Powerful Reporting – Part 3a
A Mea Culpa of sorts… If you have been following our series on Jamf Pro and Power BI, you know that the goal was to create an automated method for getting data into Power BI. Or at least that is the underlying goal. As I finished writing Part 3, I immediately started assembling the bits…
-
Unlocking Insights: An Introductory Guide to Integrating Jamf Pro and Microsoft Power BI for Powerful Reporting – Part 3
Part 3 – Getting Paginated Data from Jamf Pro In my previous posts, we covered how to set up Power BI and Jamf Pro to get ready to pull data and how to start pulling data into Power BI using API calls. In this post, I am going to go over how to utilize the…
-
Unlocking Insights: An Introductory Guide to Integrating Jamf Pro and Microsoft Power BI for Powerful Reporting – Part 2
Part 2: Pulling Data from Jamf Pro In my last post, I walked you through creating an API Client in Jamf Pro and then using that information to configure Power BI to connect to Jamf Pro. In this post, we will configure Power BI to grab some information from Jamf Pro using API calls. But…
-
Unlocking Insights: An Introductory Guide to Integrating Jamf Pro and Microsoft Power BI for Powerful Reporting – Part 1
Part 1: Jamf Pro & Power BI Setup Customers and prospects frequently inquire about Jamf Pro’s dashboard reporting capabilities, especially for executive-level presentations. Given the prevalence of Microsoft licensing in organizations, Power BI emerges as a popular choice for data analysis. However, integrating Jamf Pro with Power BI, particularly with evolving authorization methods, can pose…
-

The Impact of a Mentor
The period between Christmas and New Year serves as a moment of reflection. The author takes a nostalgic journey through the mentors who have influenced their life, ranging from parents to managers. Each of these figures has shared invaluable life lessons, contributing to the author’s personal and professional development. The author urges readers to acknowledge…
-
New Year, New Hosting
Happy (early) New Year! I hope everyone had a very Merry Christmas or Happy Hanukkah or whatever holiday you may have celebrated (or be celebrating). Over the holiday break I decided I wanted to change things up around here, so I decided to move my hosting over to Bluehost and freshen up the theme. I…