Continuing with my posts on automation, or at least the automation of package building, I’d like to introduce you to my new assistant, Jenkins. Jenkins is a continuous integration server. Continuous Integration, or CI, is defined by Wikipedia as:
Continuous integration (CI) is the practice, in software engineering, of merging all developer working copies with a shared mainline several times a day.
To put it plainly, or to put it into the perspective of a Mac sysadmin, Jenkins can be used to run shell commands at a given interval, or to run several commands in series. We can then use CRON like scheduling within Jenkins to run these commands at a given time each day, each week, or whatever interval you give.
Jenkins will require the use of the Java 6 JRE on the machine you run it on. You can go out to the Jenkins CI web site (http://jenkins-ci.org/) to download the installer for Mac. Once you have downloaded the software, while logged in as an admin on the machine, run the Jenkins installer PKG. After the installation has completed, either restart the computer, or open a Terminal window and load the LaunchDaemon:
launchctl load /Library/LaunchDaemon/org.jenkins-ci.plist
If Java is not installed you may be prompted to load Java. After completing these steps, open a web browser and navigate to the home page for Jenkins:
http://localhost:8080
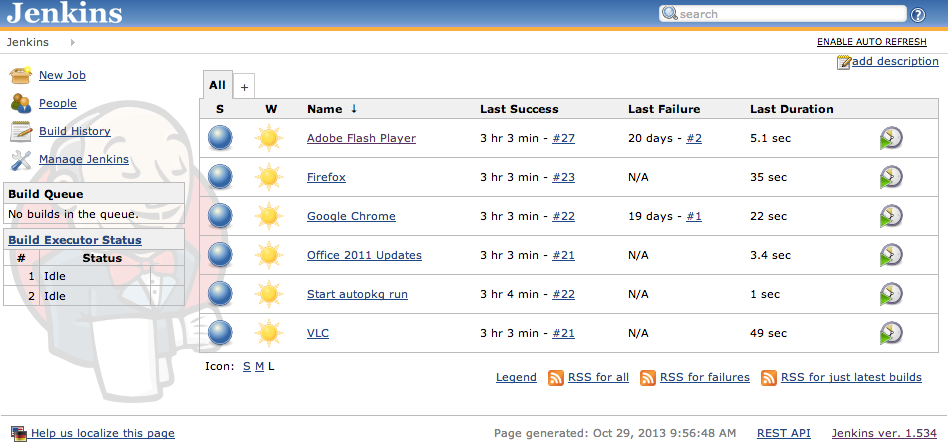
You should hopefully see the Jenkins dashboard, which looks similar to this:
NOTE: If you receive an error about the home folder, try restarting the computer.
You can also check this web site for more info: https://wiki.jenkins-ci.org/display/JENKINS/Thanks+for+using+OSX+Installer
If you successfully loaded the Jenkins dashboard, then you are all set to start using the power of a CI server. I utilize Jenkins to work with my AutoPkg installation (on the same machine) so that I can build packages while I sleep.
Next up we’ll look at integrating Jenkins and AutoPkg.
